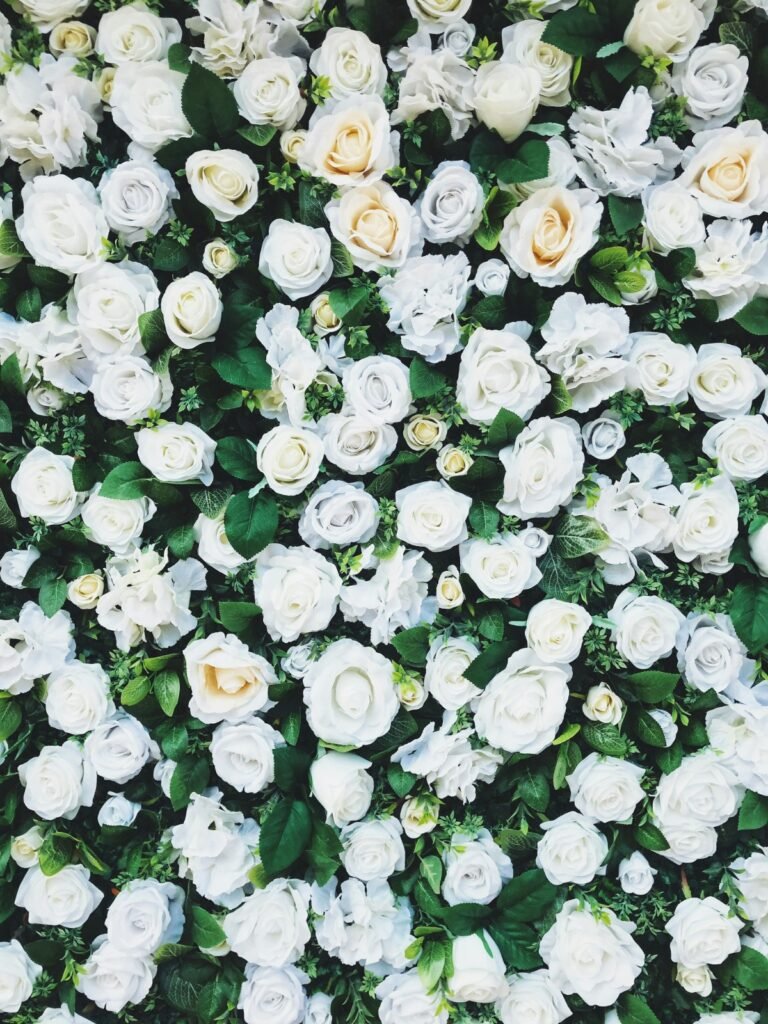
Wedding flower walls are all the rage now, and for good reason: they make for picture-perfect backdrops. They are a wonderful photo op for guests and can transform any place into a fairytale setting. A floral wall is an inexpensive way to make a bold statement in any event. All you need is a vision and a passion. A fake flower wall can boost your decoration and attain the attention of guests by making an everlasting impression.
Simply follow these 5 easy steps, and you’ll have a stunning addition that will impress everyone.
Where Can You Use Flower Wall?
Flower walls always look great at weddings no matter if it is fresh or fake, but they also look great at many different special events, such as:
- Bedroom
- Nursery
- Christmas parties
- Birthday Party
- Anniversary parties
There are no limits to where you can put your lovely flower wall; it will definitely get people talking!
What’s the Price of Aftermarket Flower Wall?
In most cases, when you purchase a flower wall online, you will receive separate panels that may be joined to form the desired wall size. The standard price range for a 16″ x 24″ panel is $30 to $50. A huge wall, therefore, may cost anywhere from $700 to $1,000.
What’s the Price of DIY Flower Wall?
Fortunately, creating your very own flower wall is not only simple, but also a lot of fun and cheap! Instead of buying an expensive readymade flower wall, you can build one yourself for much less money.
You may find flowers at Dollar General, Ikea, Lowes, and Hobby Lobby, among other places. For every 16″ x 24″ space, you should use about 50 flower heads and its price can vary depending on the quality and store hunting.
Step 1: Collect Your Supplies and Choose The Ideal Place

You need to get your tools together before you start. What you’ll need is this:
- Glue gun and scissors
- Cutters for wire
- Pencil Tape measure
- 2 fake flower bags
- 1 square piece of foam board
- 6 strips of Velcro
First, use a measuring tape to find out how long and wide the room is because it is a crucial step. Place the wall at the room’s focal point if you want to bring life to the area. Moreover, if you want to use the flower wall as a background for an event, make sure it is coherent with the theme of the event. After being fully built, flower walls can be heavy, so find a solid wall to connect it to.
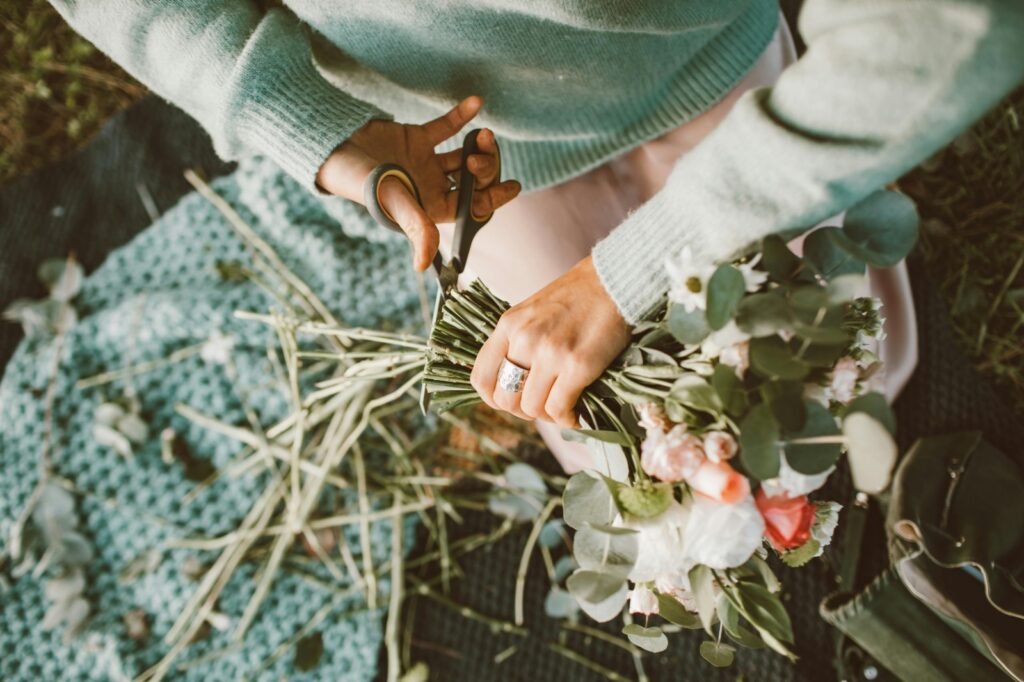
Step 2: Cutting Foam and Flower Stems
To make your DIY flower wall, you need to cut the foam board. It’s very important to get the sizes right so that your flowers fit properly. The foam board needs to be cut once you know the right sizes. You can cut your foam board to size with a sharp knife or a saw. For a clean, even look, make sure you cut it as straight as you can.
While cutting flower stems, it is very important to be careful. If you do that, you could hurt yourself or break the fake flower. To cut the flower stem, you should use gardening shears or scissors that are very sharp. Cut the fake flowers with wire stems so that they are only an inch or less long. You can use wire cutters to do this. It’s important to remember that if you cut off too much of the stem, it will be hard to connect to the board.
Getting rid of the flower roots right before putting them in water is a good idea. Before you connect the flowers to the board, you need to make sure they are the right height and the right
45-degree angle cut.
Step 3: Placing Faux Flowers and Attach the Flowers to the Board
After getting the supplies ready and you’ve cut your flowers, put them on the board. Arrange your fake flowers the way you want them before you glue them to the foam board. And then arrange them on top of each other.
It can really make a difference to add fake plants. Adding plants to your flower wall gives it color, depth, and a natural look. It’s all in the finishing details. If you arrange smaller flowers between the bigger ones, it will be a nice way to finish off your do-it-yourself flower wall.
It might look difficult to attach the fake flowers to the foam board for your flower wall, but in reality, it’s not that difficult. The best way to keep them intact is to carefully punch a hole in the foam board. Don’t panic if these flowers don’t come with stems because you can put some hot glue on the back of the flower and press it onto the foam board.
Step 4: Put Velcro Strips on it
First, put your Velcro strips on the back of your foam board so that they are upright. If you want a strong hold, use at least three strips. If your board is really heavy, feel free to add more.
After putting the strips on, place the flower board against the wall where you want to hang it. Make sure to mark the wall where the strips will line up. This will help you hang the board properly and help you avoid making mistakes.
It’s now time to stick the other half of the Velcro strips to the wall. Take the stickers off of the strips and line them up with the wall’s marks. To make sure the strips hold well, press them hard against the wall.
Step 5: Display Your Wall

Now your do-it-yourself flower wall is ready to be shown off and appreciated. You need to add lights to your flower wall after it is up on the wall. Christmas lights can be used outside, while indoor lighting can be used for events.
You could put string lights on the back of the wall or hang them all over the wall. For events that happen in the evening, this is a great choice. Adding built-in LED lights is another great way to make your DIY flower wall shine.
Conclusion
When you make your own wall by putting together different flowers, it is a lovely way to make any room look better, no matter how much money you have or how skilled you are. Now that you know these tips, I’m sure you’ll rock the design that stands out and makes even the pickiest reviewers happy.